Match #2 – Blackheart’s Bay (WIN)
My Team: Diablo, Thrall, Tracer, Nova, Rehgar
Enemy Team: Artanis, Chromie, Jaina, Xul, Lt. Morales
Overview: For my 2nd Heroes of the Storm Replay Analysis, I played Support again. This match took place a few minutes after the dismal match I reviewed in my first Replay Analysis. Telling the Draft Lobby the story of the Nova/Zeratul duo got us all off on the right foot as we laughed at my matchmaking misfortune. This match was a fairly decisive victory, filled with strong teamwork throughout.
Positive Takeaways:
- I positioned myself well in the first fight over the watchtower, and was able to stick a totem at the top to prevent the enemy heroes from quickly leaving through the top.
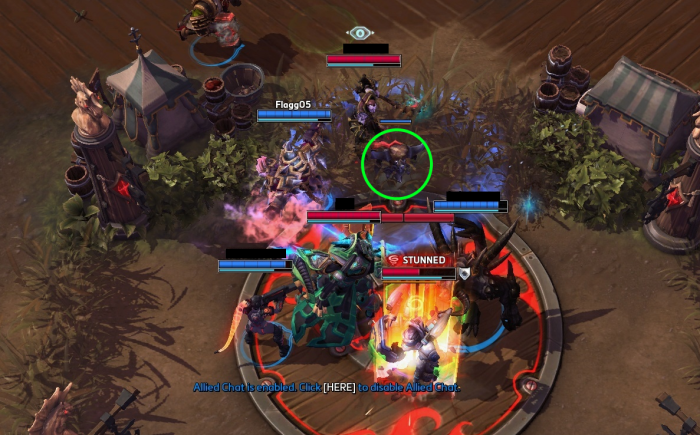
- A well-placed totem was able to assist our weakened Diablo in getting behind our walls to recover health.
- Right after that totem drop, I stood in front of Thrall and soaked so ability damage to prevent him from dying (although this honestly might not have been intentional).
- I was able to quickly rotate from soaking the top lane to healing allies in the middle lane.
- During Level 6, the enemy Xul and Lt. Morales had overextended in the bottom lane.
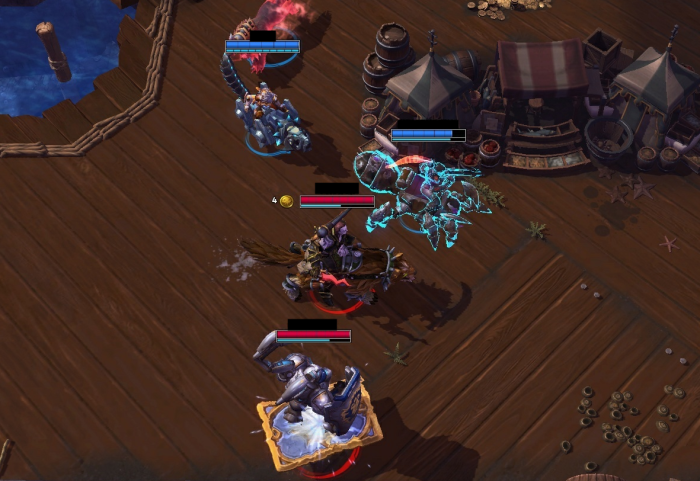 We were able to cut them off and another handy Earthbind totem was able to slow Morales down enough to kill her.
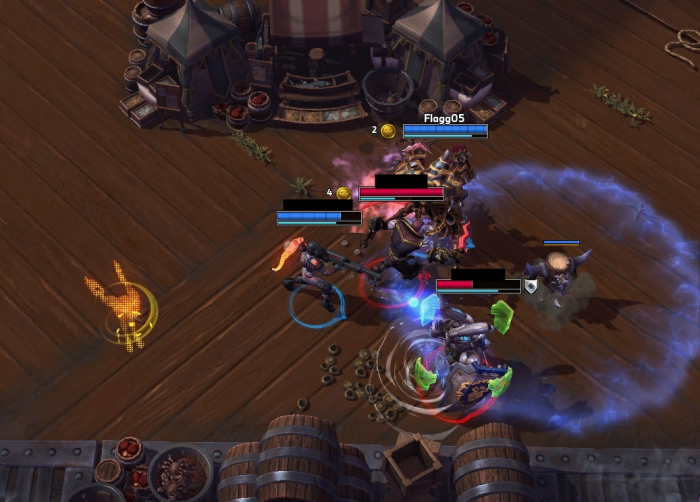
- We were able to steal the boss at half health from the enemy team. A lot of that rested on the enemy only committing 3 heroes to fight the boss while we fought the other two first.
- I was able to save Diablo twice from death with Ancestral Healing. However, I missed saving myself by not committing to using Ancestral Healing on myself fast enough.
- Overall, my mana management was spot on – I don’t believe I had to hearth more than once the entire match.
Room for Improvement:
- I did not rotate down to the first chest fast enough, which meant I wasn’t there in time to save Nova from dying. There’s a pattern here, looks like I need to start hammering in those first objective times on each map.
- There were a few instances (most notably during Doubloon Camps) where I didn’t realize that Rehgar no longer continues attacking the same target once you swap to Wolf-Form. While minor, this is something to keep in mind as I continue playing him.
- I lingered a few too many seconds clearing a wave of minions instead of heading to the second set of chests. While no one died, we did have mercs in that lane and they were going to push through easily.
- We attempted to push the bottom inner gate with mercs, but trickled in. Diablo died in the process, so I should have hit “V” to try and pull him back before the enemy team bombarded him from the safety of the gate.
- Right at the 14 minute mark, I started second guessing catching up with the team as a few allies tried to push the bottom gate again, or quickly turn in. Once I realized I only had 1 coin and we needed 2, I started to head to my team. Then, I asked myself if I should go take a Doubloon Camp to turn in, before ultimately deciding to catch up with the team. This small mistake cost Diablo their second death, which I could have prevented.
Effect on Rank: I regained my Rank 35 points, bringing my overall record to 31-42.
Random Observations:
- This was the first time that I played against Chromie in Hero League, and I honestly don’t think I ran into her very much. I remember thinking about 3/4 of the way through the match “Wow, Chromie must be squishy because she’s dying a lot”, when in reality it was only 4 times.
- This truly was the polar opposite from the first match I analyzed – my team worked together extremely well, never got upset at one another, and kept chatter to a minimum.
- The enemy team wasn’t able to turn in a full set of coins to Blackheart, bonus!
- Thrall and I died at the very end of the match as the game-winning cannonballs were firing on the enemy core. Aside from those 2 junk deaths, I could have prevented all 3 of the legitimate deaths through map awareness and faster decision making. I’ll keep this in mind as I go forward.

Thanks for reading my 2nd Replay Analysis! If you like reading these, please follow this blog, or follow me on Twitter for when I update the blog.
